Raised beds. It’s probably the most “popular” subject in gardening culture today. For thousands of years, starting right back to Adam and Cain, man has been working the soil and planting vegetables.
For most people these days, your experience with vegetables is probably picking the ones that look the best in the grocery store or picking them off your plate.
With that said, for the backyard farmer or gardener, there’s an art to the madness – and it can be addictive.
I have been “farming” for years (which for many Newfoundlanders eighty years ago, a small garden or plot of land for farming was common). The key veggies: potatoes, turnip (which is technically rutabaga, but many Newfoundlanders call it turnip) carrot, and maybe cabbage.
My father currently has two farm plots (both of them I’ve already written about in previous posts). I have used the smaller plot for the past ten years. At 30 feet wide and 100 feet long, it’s a modest size compared to the bigger field up back – but it’s enough for me to handle, mainly due to the dreaded W…
– WEEDS!
Like my mother-in-law used to say, “A big house is nice, but it’s more to clean.” Well, the same is true for large garden plots. Since we don’t use pesticides, the weeds grow like something fierce! One moment your cabbages are doing well, and then like Ewoks on a Stormtrooper, it’s overwhelmed!

So this year, I decided to plant my veggies in the garden yet again, however this time, I had a secret weapon – the “The Death Star.”
Why am I using so many Star Wars references?
How much is many? You only used two…
I guess, technically, that means I only used a few.
Really you used a couple.
Hmmmm.
Anyway, I decided in April to transfer all my attention to a new strategy – making raised beds!

Just think! I could grow veggies in style, and join an elite group of backyard gardeners at the same time! Having lush beds, hanging with the compost junkies, watching endless videos on experimental gardening techniques, and better yet – almost no WEEDS!
Seriously though, when you take away all the pomp and glamour of it all, you’re left with the same thing Adam had about six thousand years ago… dirt. Yes, you can have the most beautiful, geometrical design possible, but you still have … dirt.
So that means – work.
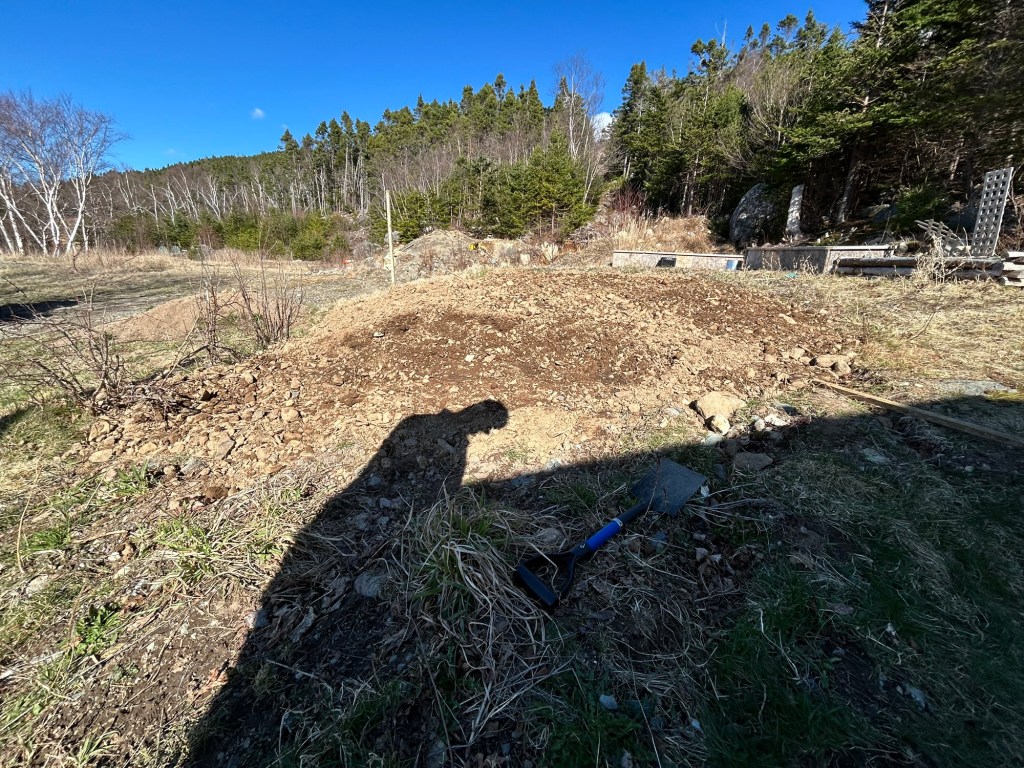
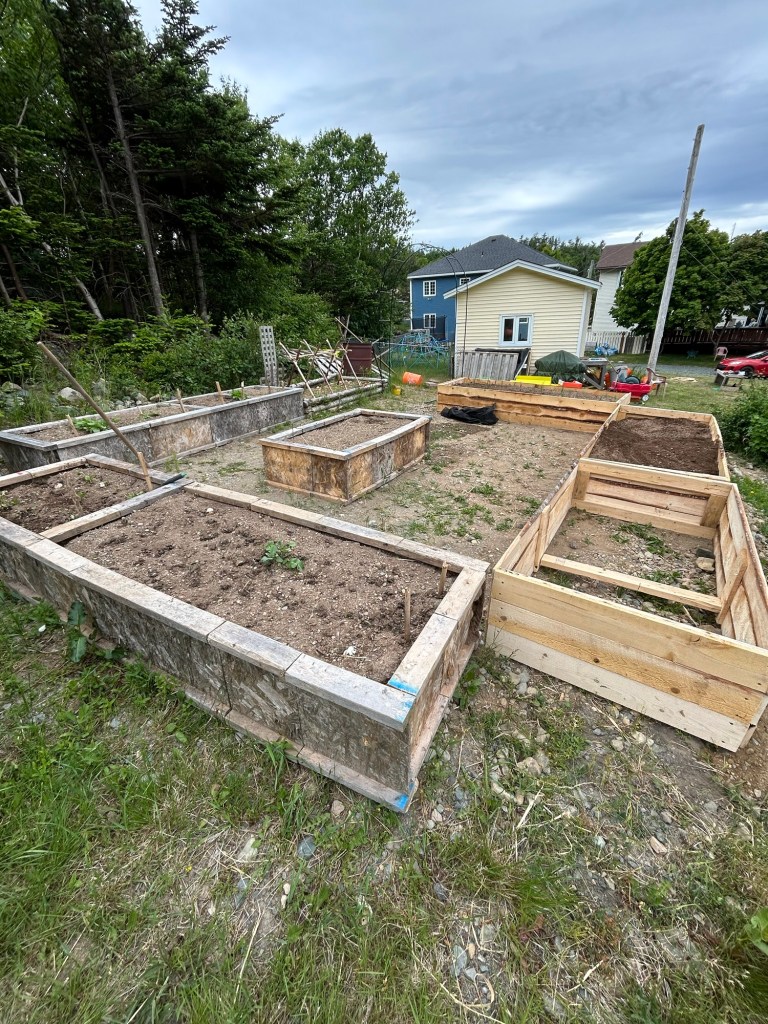
And boy have I ever worked hard on it. This is the ground I started with below.
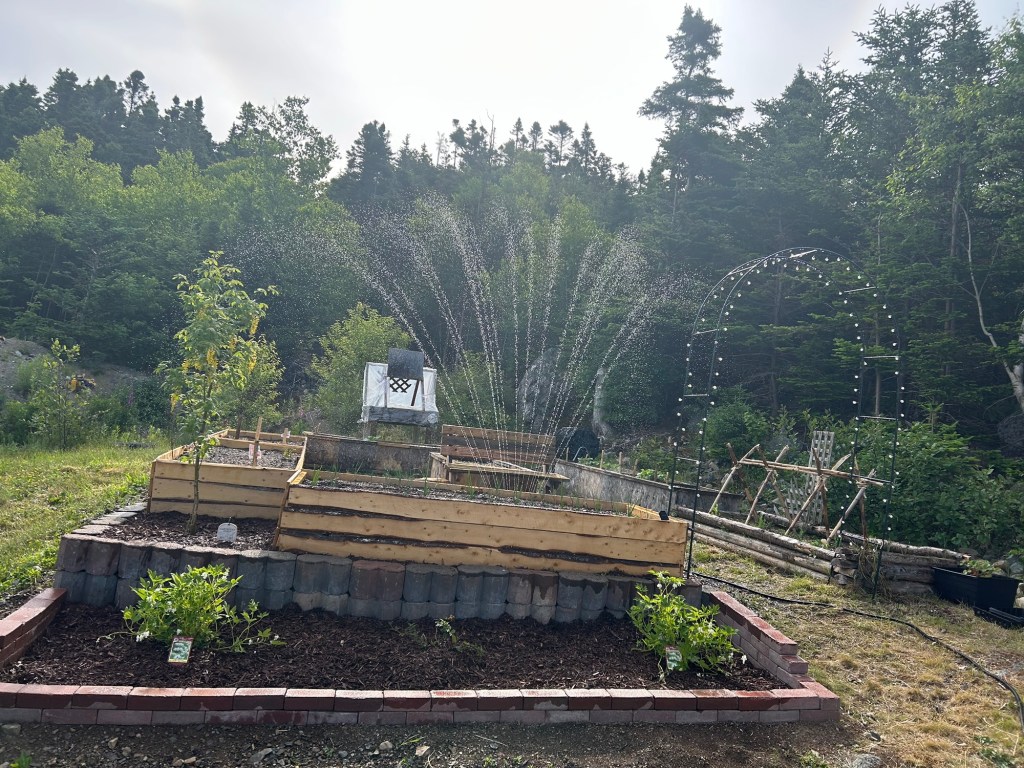
And this is what I turned it into (work still in progress).
It total I have seven raised beds – three of the same design (closest to the front), one log type bed (on the far right) and three beds of different sizes in the background.
First, I had to level the ground as best as possible. If anyone knows anything about Newfoundland, our ground is rocky and uneven at best. The land in particular behind my house is less then 500 feet from a small mountain; due to this, the ground is full of rock and underneath that in some parts is “blue rock” aka cliff rock – impenetrable (mostly), unless you are blasting.
On the right side of my garden is this, “blue rock”. I remember eight years ago, when a large excavator tried to dig the ground for my shed and the operator almost broke the teeth on the bucket trying to scrape it.
So I just had to work with what I had.
I placed my garden away from that rock, and started from there. After a few truck loads of fill, I began the process of levelling the ground. After this was finished, I began imagining what my garden would look like. I wanted something practical, nice looking, and easily accessible for future gardening.
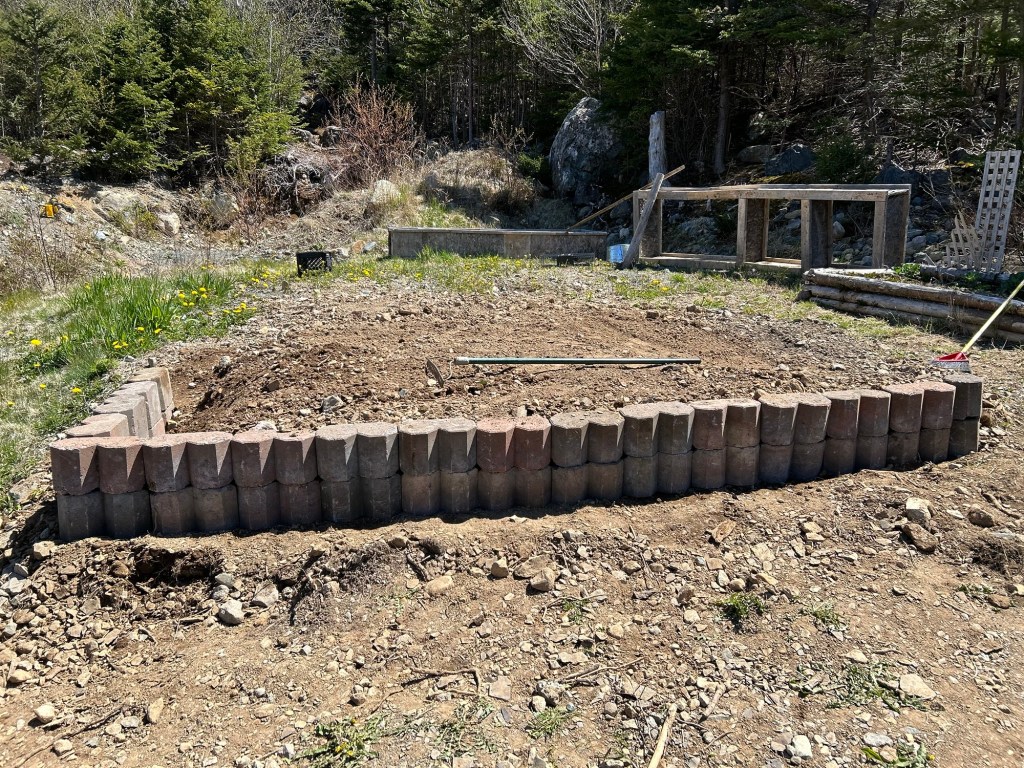
After getting the ground level-ish, I made a basic retaining wall. This brick worked out well with two stacked high- with each brick being one foot in height.
Then I started the beds. Almost all the materials used in this project were given to me. My good friend called me up and offered two truck loads of brick. I also had wood left over from another project and my father bought me some rough lumber at eight foot lengths.
The Lord, my family, and my friends blessed me greatly.
So I built my first bed with the rough lumber – 3’ x 8’. I put a short brace in the middle, and made the height 26 inches. This was a good height, as I have to bed slightly but I can still use a wheelbarrow to dump in compost or soil.

After that I made two more beds: the first with the same dimensions as the previous bed, and the second at six feet long (in order to fit to the last bed).
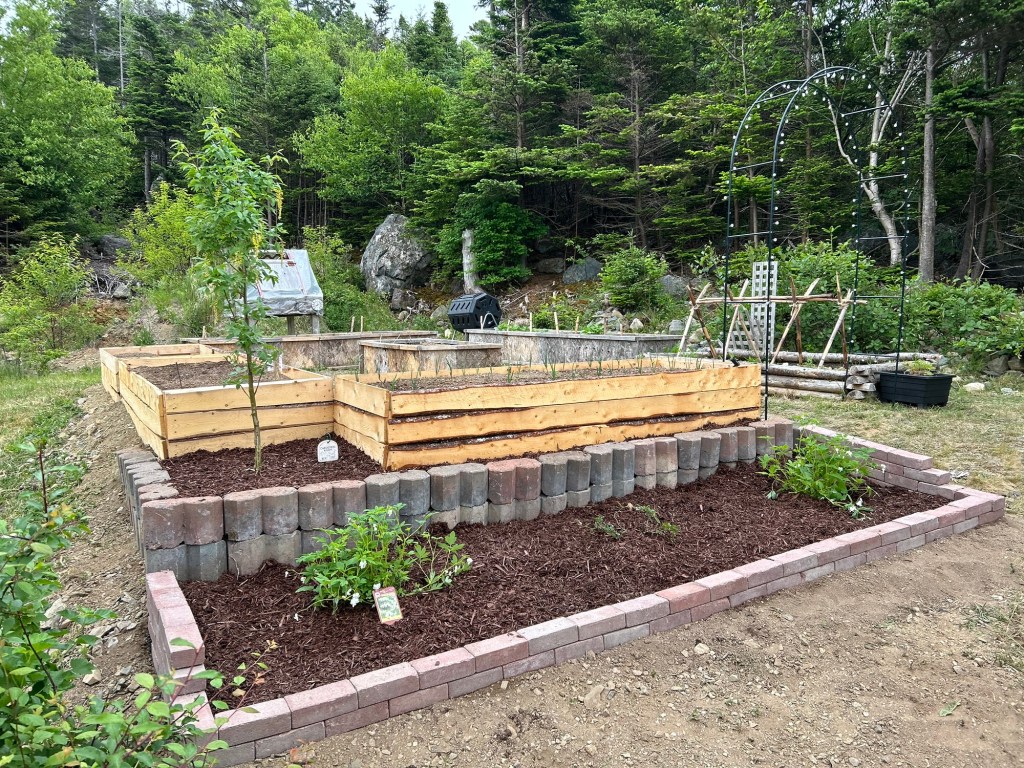
After I was satisfied with the placement of the beds, I really wanted my garden to be set it apart from the other places on the property – nice and welcoming. So I decided to make another smaller brick wall, attached to the retaining wall. Within this section, I would have some shrubs and a rose bush.

I laid out some landscape fabric (highly recommended to use this for battling weeds. I purchased each large roll for $4 at Dollerama), positioned the first bricks…and away I went. I then cut three holes into the fabric for the placement of the shrubs. After filling it in with some topsoil, I prepared the shrubs.
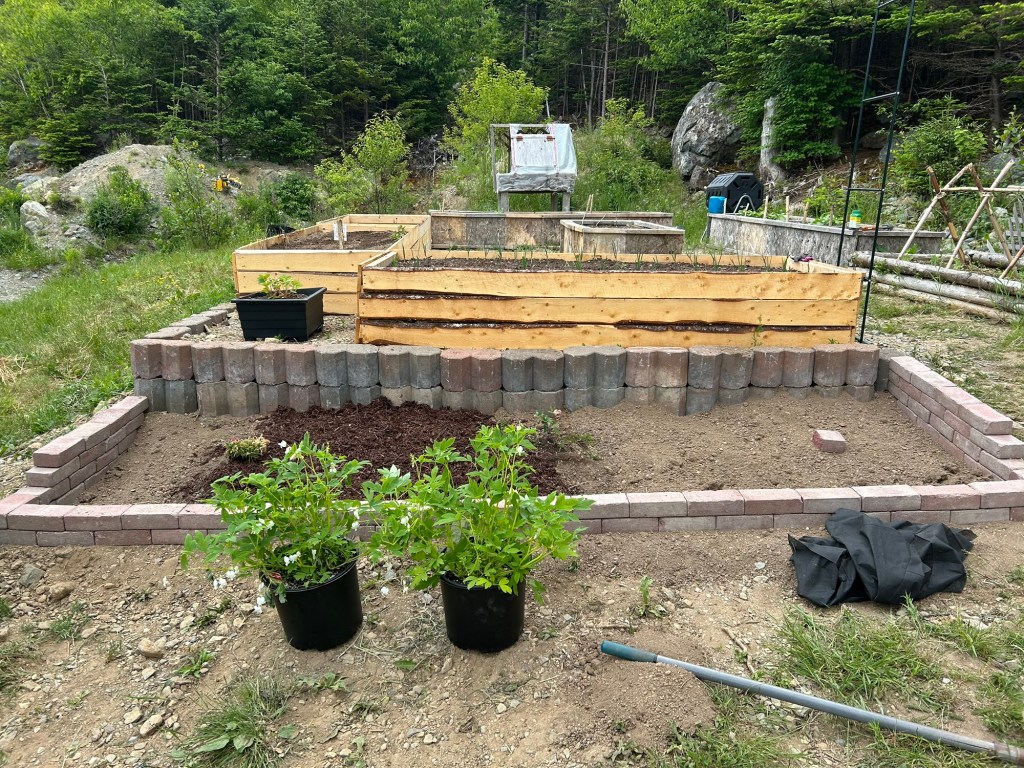
You’ll notice the small black planter in the corner on the far left. I really didn’t like that there, so I dug up a Scotch laburnum, or “chain tree” from the back of our property, planted that instead.

After using brown mulch from Kent, I felt that the design was complete…or so I thought.
Tune in next week, for part two of this series – I will be writing about adding crushed stone to the walkways, vining cucumbers for the archway and my second set of brick work.
Thanks for reading another post by, The Eason Clan!
Christian

Oh wow, the raised beds look really good! I’ll have to remember to use landscape fabric to combat weeds, if I ever start a garden.
Lol, I’m with your mother-in-law; I prefer smaller houses. Easier to clean and manage XD.
LikeLike